How do I use a conductive pen?
Here's a step-by-step guide on how to use a conductive pen:
Step-by-step process:
Expose conductive surface of repair area: When repairing a trace, conductive ink needs to have good contact with the beginning and end of the gap. This often involves scraping way resist to expose the conductive surface.
Prepare the surface: Clean and free from any debris, dust, or old solder. You can use isopropyl alcohol and cotton swabs to clean the area properly.
Shake the pen: Before using the conductive pen, shake it vigorously until you hear the click of the internal bearing, which provides agitation within the pen. If the ink is dark and not a silver color, continue to shake the pen to fully mix the ink.
Prime the pen: When using the conductive pen for the first time or after a long period of non-use, you may need to prime the pen to get the ink flowing smoothly. Press the tip of the pen against a scrap surface (e.g., paper or a non-conductive material) until the ink starts flowing. You may need to clear the tip of dried ink with a wipe saturated with solvent like isopropyl alcohol (IPA).
Draw the conductive trace: Hold the conductive pen like a regular pen or marker, and apply gentle pressure to the surface while squeezing the barrel. Be precise and steady in your movements to get a clean line. You can draw lines, bridges, or connect components, just like you would with a pen or a pencil.
Cure the ink: Let the ink air dry for at least 1 hour.
Test the conductivity: Once the ink is cured, use a multimeter or continuity tester to test for continuity between the endpoints of the trace to ensure the connection is complete.
Clean the pen tip: After use, make sure to wipe the tip of the pen clean with a wipe. This prevents the tip from getting clogged and ensures better performance in the future.
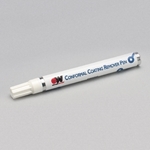
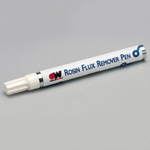
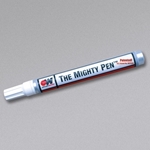
CircuitWorks Repair/ Cleaning Products
Learn more in our Blog
Follow our Linkedin


